Notes/goals:
– Focus on weight distribution between two characters using each other.
– Push/pull
– Practice more on facial reactions
– Play with aniticipation
– Create a sense of urgency
3D – Maya 2014
Notes/goals:
– Focus on weight distribution between two characters using each other.
– Push/pull
– Practice more on facial reactions
– Play with aniticipation
– Create a sense of urgency
3D – Maya 2014
Double post! Playing catch-up with posting!
Otherwise, so far, so good with keeping up with this project. Physically.
I really should invest in a scanner. Or at least a portable one.
 |
| 365DailyDraw_collage008-010 |
 |
| 365DailyDraw_collage011-014 |
 |
| 365DailyDraw_collage015-017 |
 |
| 365DailyDraw_collage018-021 |
 |
| 365DailyDraw_collage001-003 |
Try #2 with the whole Daily Draw project I want to do. I’m a little disappointed that at the first go-round, I failed. Miserably. After a month of doing it, I stopped due to not coming up with ideas, getting frustrated at my skills, and generally things getting in the way. For a while, I really thought about the factors that contributed to my failure. Why wasn’t I getting into it? Why am I frustrated?
The factors were narrowed down to:
1. I didn’t place the correct parameters. I work well when certain boundaries are set.
2. The perfectionist side of me got in the way. If something was off, I got frustrated.
3. Concentrated too hard on a completely finished product instead of sketching.
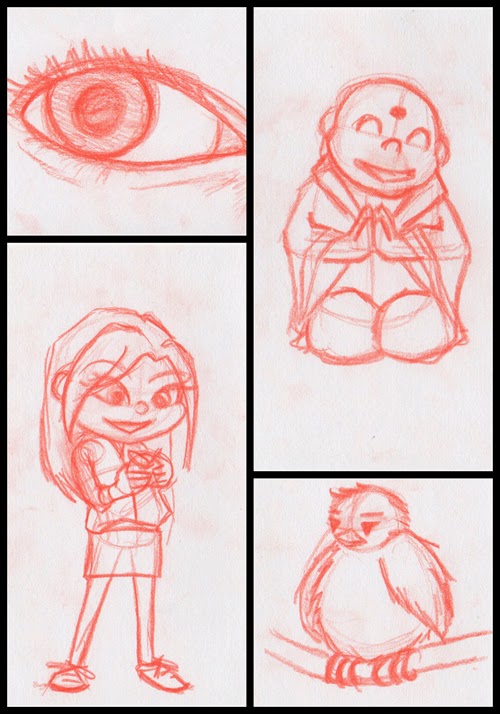
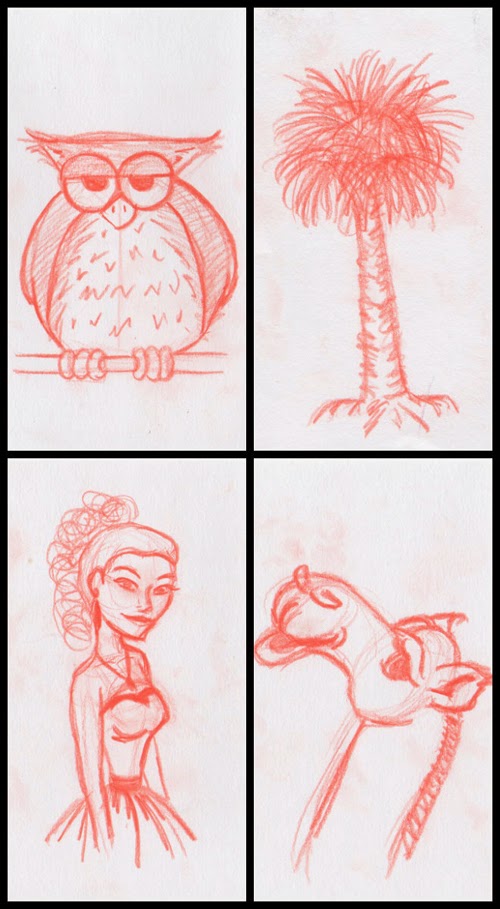
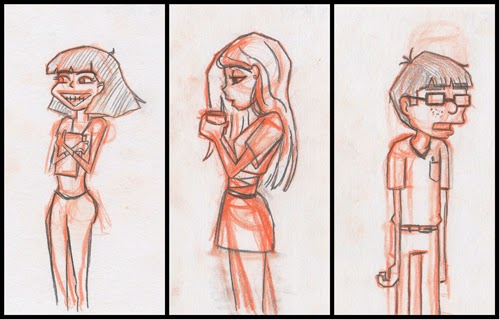
So, how to fix these issues… Well, I have several packs of blank note cards (3×5), just refound my ColErase pencils, somewhere between 10-30 min., a podcast (so it’s like I’m sitting in a class, where I apparently do my best sketching), and away we go! I found that if I limit my drawing surface (and use it to my advantage) and when the inspiration strikes, draw whatever it is, I’m more compelled to do it.
So far, so good, right? RIGHT?! Man, I really hope this works…
 |
| 365DailyDraw_collage004-007 |
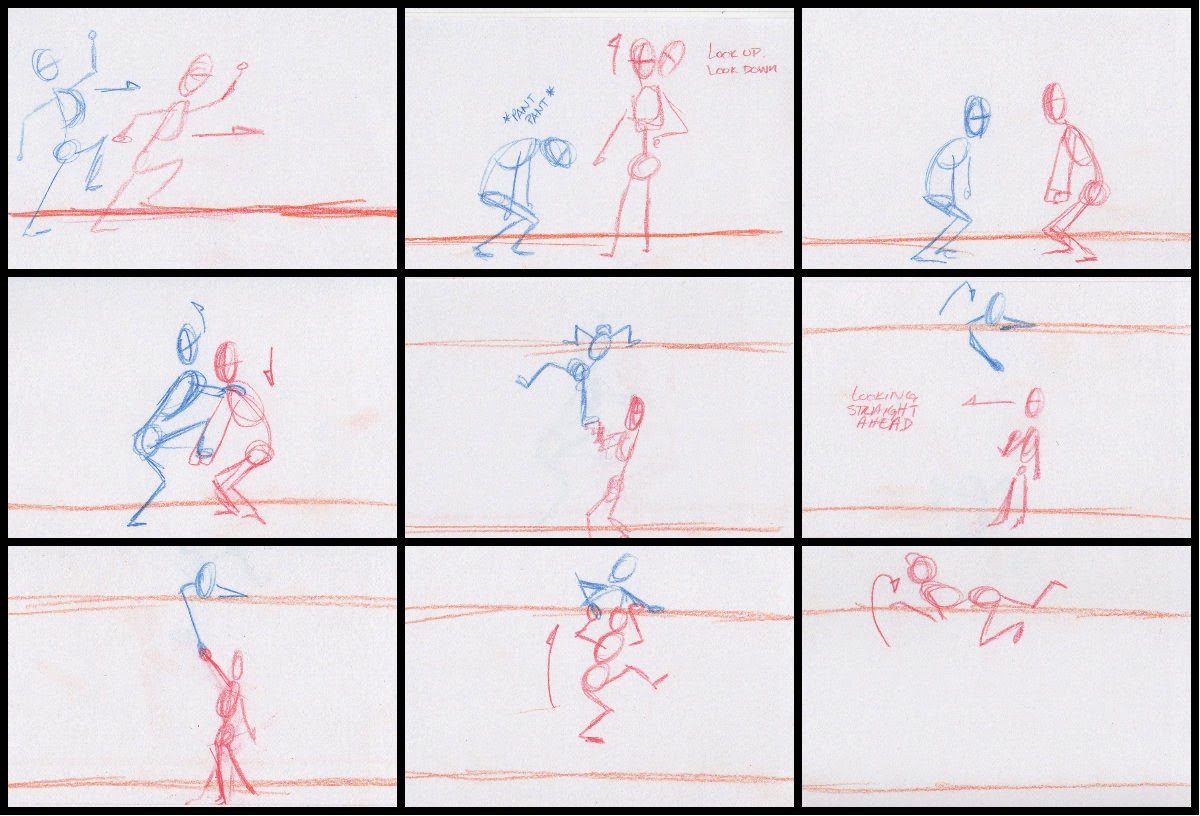
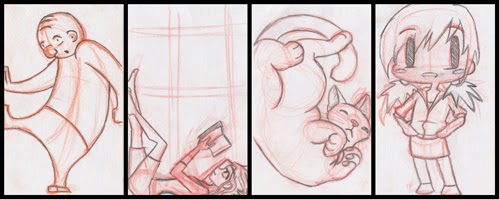
Color me optimistic but I’m going to try to trick myself into doing this. I quickly sketched out a storyboard I had in my head for a while and I’m hoping to start on it soon because I think it has potential for good, somewhat comedic, acting.

The idea is that the character (cat burglar?) will climb up a drain pipe and it suddenly snaps off the wall due to weight and tension, and in a bit will slowly creep further away from the wall, inciting fear in the character in a last ditch effort to grab the wall/something on the wall. The drainpipe ultimately falls out of the frame along with the character.
Short and sweet. An exercise in weight + pulling. A bit of anticipation and timing… It will be good.

One of my best friends is getting married in a week’s time. To help out with preparations, I was asked to put together a cover for the dziesmu grāmatas (song books) because my other best friend stated “Since you have better art skills…”
Why a song book? Because Latvians really love to sing. We don’t have “Song and Dance” festivals for nothing!
Anyway, I thought it would be nice to include a Latvian symbol or two no the cover. These symbols traditionally carry some sort of virtuous or mythological meaning behind them. For example a symbol could represent knowledge or fertility while another one could represent any of the pagan gods like Auseklis or Laima. This aspect of my heritage truly fascinates me since these symbols are still used these days on folk costumes, jewelry and even on Easter Eggs. Back when I went to Latvian School on Saturdays, we would have competitions around Easter time where we would bring in eggs that have been colored using primarily dry onion peels and spend a good portion of the day etching symbols on them. So I guess from that I’ve developed an addiction to geometric symbols? I mean, give me a sheet of graph paper and that’s the first thing I would doodle.
 |
| Hand drawn facsimiles from “Senču Raksti” |
Using “Senču Raksti” by V. Klētnieks, I translated hand drawn symbols to a digital format. It started with the simpler symbols and gradually I got carried away by drawing the more difficult symbols and even adding in color and using other techniques. Praise to Snap to Grid in Illustrator!
 |
| Digital recreations of Latvian symbols |
 |
| Ugly sweater version of Auseklis |
At some point during this crazy career dream I want to be on, I want to be a part of making a movie and be a part of making a video game. Movies and games are a big part of my life and helped me become the geeky person I am today.
While I was in Graduate School, I did take a lot of Game Development classes with the intention of eventually getting a job at a game studio. The downside was that I never learned how to participate as an animator in that setting One of the things that really interests me is how to make my own character animation and get them into something like UDK. Strangely enough, I think about this whenever I play any MMO game, or any game, for that matter.
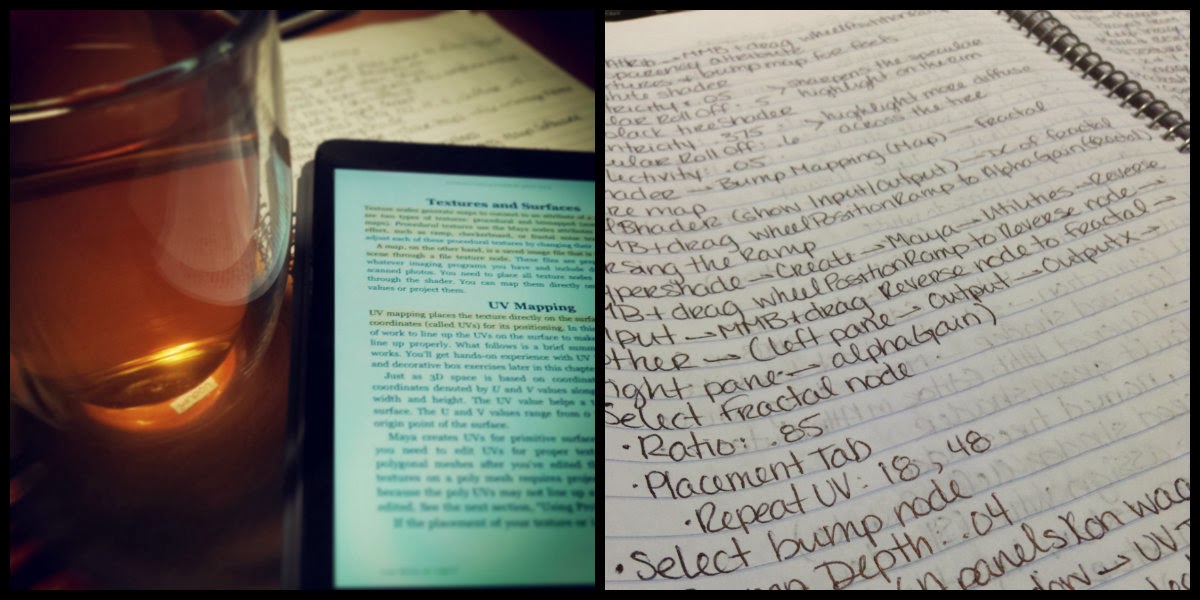
After searching, for what seems like ages, I finally found a tutorial (albeit a video tutorial) that answered all my questions on how to go from Maya to UDK. I worked through the tutorial videos, followed along and was excited to put in my new knowledge on a different rig rather than using the one in the tutorial. Alas, all my rigs weren’t using single hierarchy joints. So, for now, I’ll wait until I review the rigging process and then combine the two.
In the meantime, I typed up my notes so they don’t get lost within the pile of notebooks I use. Not exact, but they help me remember key points.
And I don’t have an image to accompany this. Weird.
Aaaaand this is the extent of my modeling prowess:
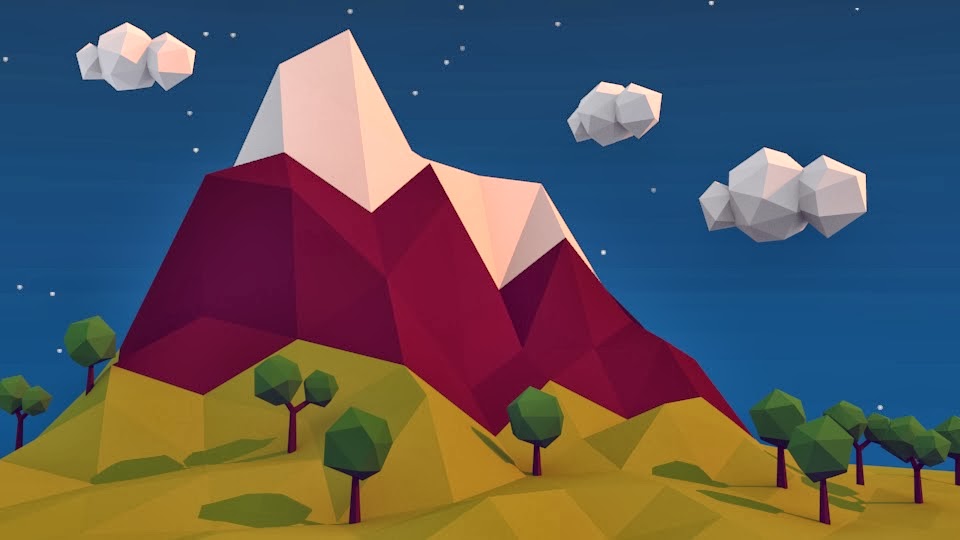
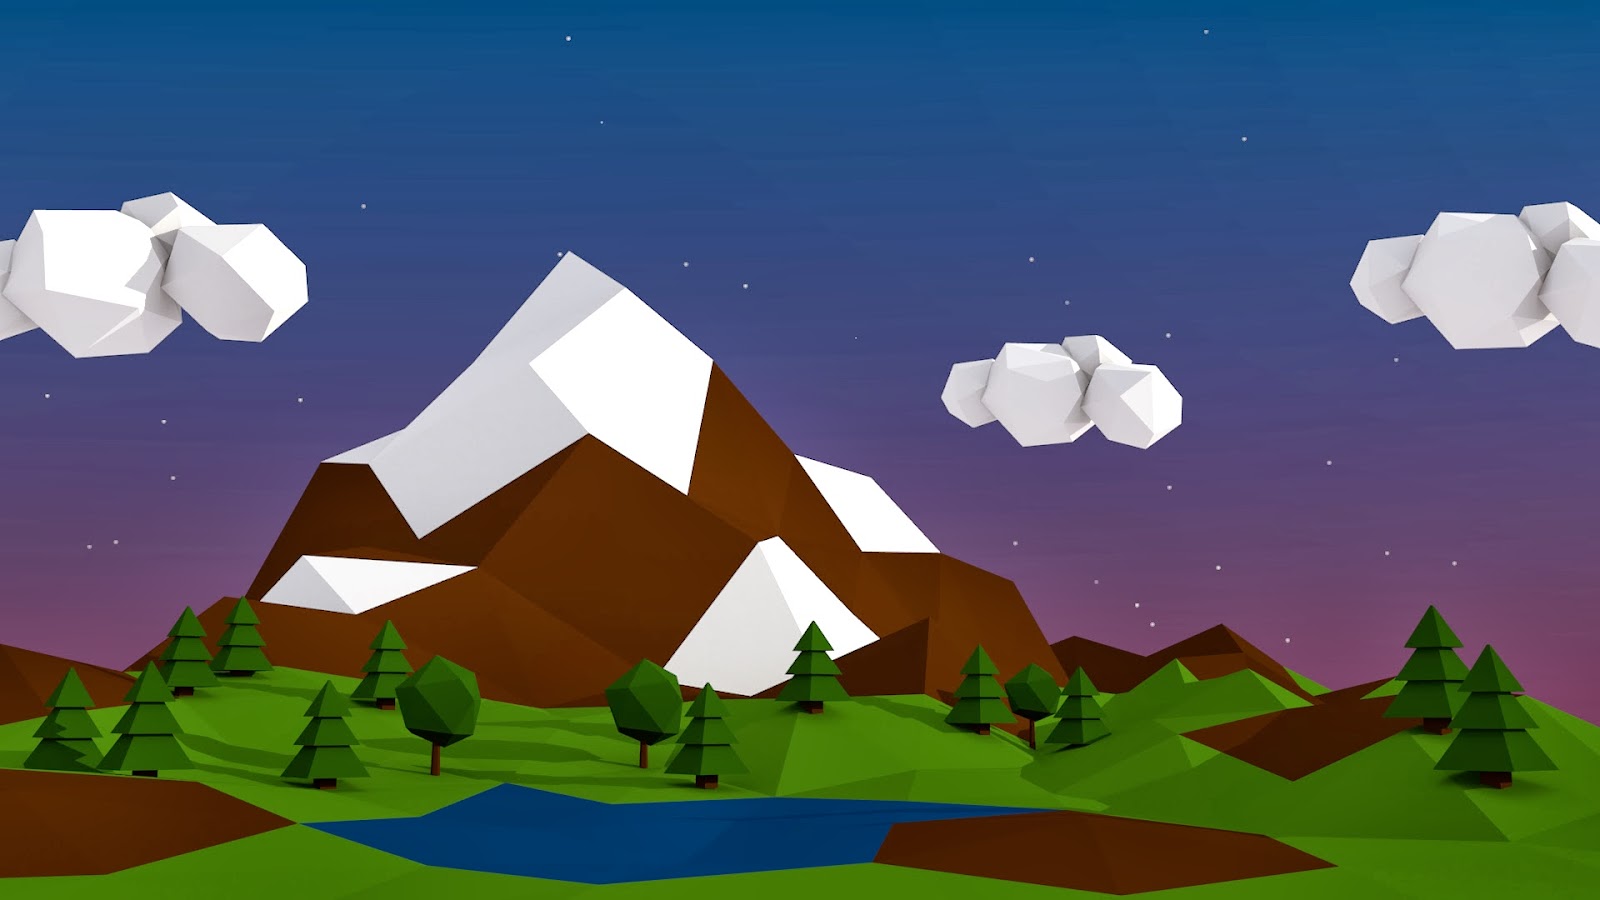
And my first foray into Blender.
I’m not a big fan of modeling, but I kind of enjoy low poly, not that it’s all too terribly technical. It still frustrates me that I can’t use my hands to physically manipulate surfaces and I have to depend on the “third party-ness” of a computer program to get something “just right.”
Intro:
This post is about animating non-organic objects: a catapult and a locomotive. This did come from the Introducing Autodesk Maya 2013 book. I didn’t have the fortune to take a class on this.While most object animation seems straight forward, for example, placing the pivot point in the right spot and rotating said object like a door, there are other tools and ways to accomplish what you need.
Process:
First, I tried my hand at animating the catapult using a Bend deformer. Which makes sense because with enough force, like gravity, objects that are seemingly rigid and solid will bend and expel energy to launch things. Some other examples that come to mind are tree branches when they’re pulled back, or even hockey sticks while taking a slap shot (okay, okay… that’s friction using the ice, but you get some wicked bends).

Back to the catapult. Basically, one can attach a deformer to any object. In this case, it is the basket and the beam, which were all grouped together and the deformer is attached to the group. When it is set up, you can play with the Curvature attribute and key it appropriately. Keying the curvature and rotations of the beam, and later the movement of the base, I was able to create something with plenty of secondary action and believable motion.
 |
| Using the Bend Deformer |
Later, the chapter goes over how to rig and how to handle multiple wheels and arms and have them all work together all from manipulating one wheel. Long story short, you are connecting (via the Connection Editor) the rotation of the wheels to the rotation of the main wheel you will control, and control alone, which is the middle wheel on one side. Next is to connect the wheel arms. Set up joints, root being at the middle wheel, tip up front. To keep the arm in place, an IK Handle is used. And then to connect that arm to the pump arm, you use a Point Constraint. Lather, rinse, repeat for the other arm on that side, but reverse in terms of joints and IK Handle. Repeat for the other side.

Conclusion:
Ultimately, I got it to work. I can manipulate the wheels and arms using only that middle wheel. Unfortunately, I refused to make an animated sequence out of it because one minor thing stopped me: the two arms run into each other and pass through each other. I’m pretty sure they aren’t supposed to do that. I would not be surprised if the model itself is a little inaccurate. I guess I will have to, one day, trek to a rail yard and scope how the arms attach. Or look at pictures. I prefer the real thing, though.
Intro:
To be honest, I haven’t been all that into doing other 3D assets besides animation. Modeling, texturing, and lighting didn’t really interest me. I took classes on all of them, but I really couldn’t get into it. All those subjects have confused me. I don’t know if it was because I missed something in the learning process that would have made it all “snap together” for me. Which is usually the case.
So, for a long while, I had a digital copy of Introducing Autodesk Maya 2013 and I figured that I should sit through it and relearn everything I missed the first time, hoping that I could enjoy the process and have it click for me because I followed some video tutorials and it was excruciating. I’m starting to think that I learn better from books than listening to a lecture.
Process:
The text (Chapter 7) starts off explaining the standard shaders found in Maya, what attributes they have and an example of what kind of objects would best suit that shader. For example:
Lambert: dull or matte surfaces – like a sheet of paper.
Phong: glossy surfaces – plastics, glass, and most metals.
Blinn: super shiny and metallic surfaces.
Anisotropic: surfaces that are deformed – foil wrapper or warped plastic.

Then it goes into using this knowledge towards texturing a table lamp. Nothing fancy. Just basic shaders and fudging a metal look to metallic parts (using a Phong shader and attaching a Env Chrome texture to the Reflected Color attribue). In the end, all the steps the lamp looks like the lamp to the right.
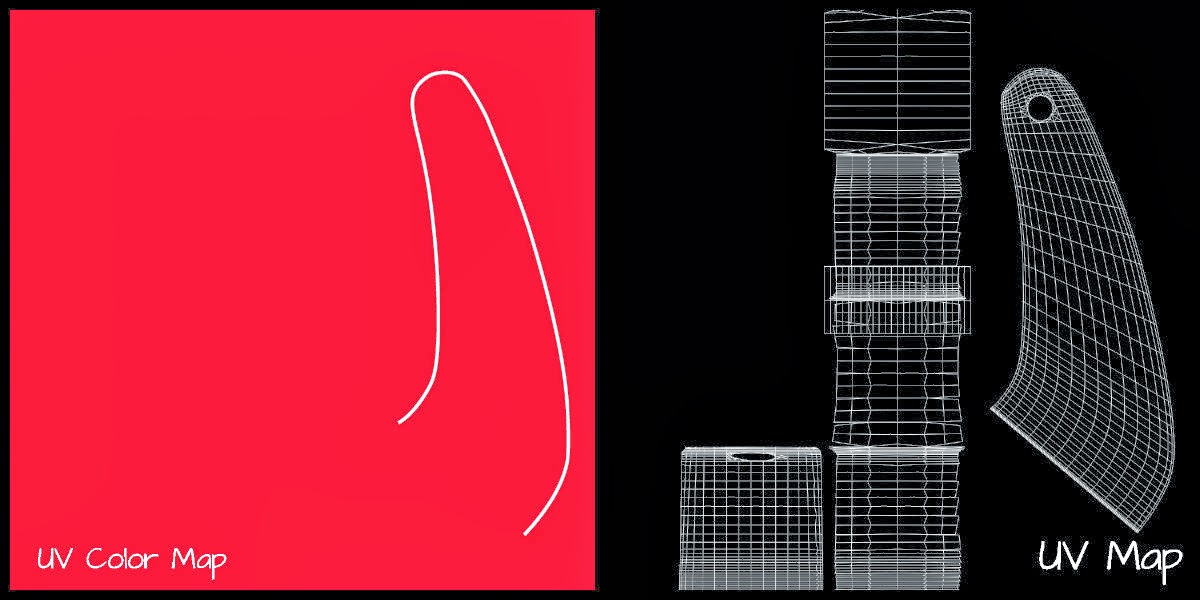
 The next section covers the basics of UV Mapping on a children’s red wagon. First, I set up initial shaders, reflecting their correct colors, and assigning them to the correct parts of the wagon. Next, was to figure out the wheels since they are just one object with two colors and two physical textures to replicate, which was solved using a Ramp shader coupled with a Layered shader and a Bump map connected to the right node to complete the effect.
After that, the text guides you into UVs for the panels where I was able to create my own artwork using Illustrator and Photoshop (which will appear in a little bit), how to flip and duplicate maps, and later how to do this with the logos on the side panels. And finally, how to place and manipulate the wood texture using Maya’s own wood texture.

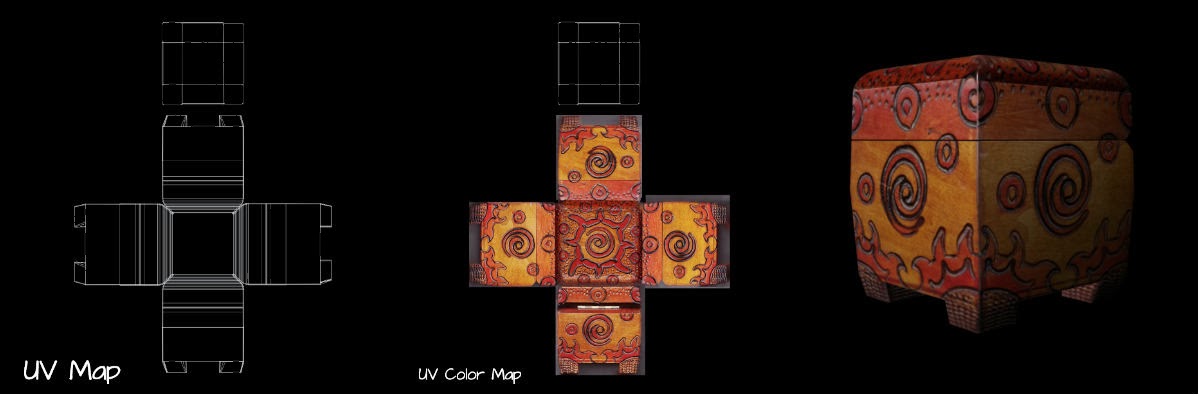
Lastly, the chapter concludes with how to do photorealistic mapping of a decorative box. Basically, it follows the directions of the wagon but uses actual pictures to place on the UV Map. Ultimately, this part of the chapter dealt more with manipulating in Photoshop and UV nodes in Maya. A lot of give and take.
Conclusion:
I didn’t find the process confusing or intimidating anymore, which is good. I plan on expanding on this in other ways, whether it is through more, in-depth tutorials or just jumping in on my own. I think that when I do my own process (not following a tutorial) I will write up the directions of the process because I don’t want to take away the hard work of the author.
