Intro:
To be honest, I haven’t been all that into doing other 3D assets besides animation. Modeling, texturing, and lighting didn’t really interest me. I took classes on all of them, but I really couldn’t get into it. All those subjects have confused me. I don’t know if it was because I missed something in the learning process that would have made it all “snap together” for me. Which is usually the case.
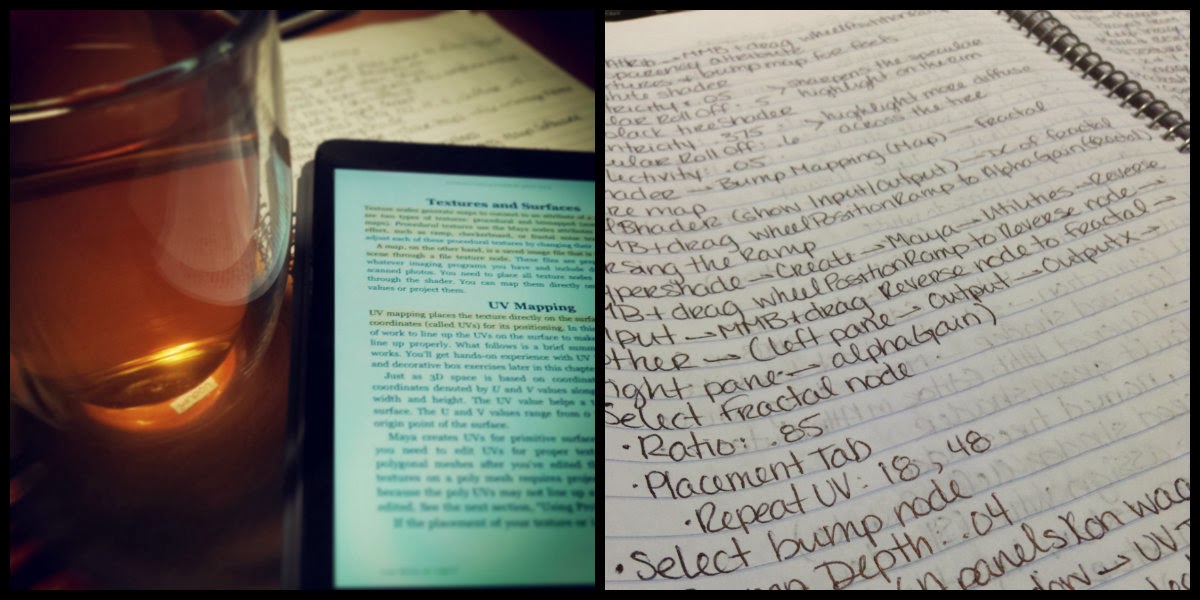
So, for a long while, I had a digital copy of Introducing Autodesk Maya 2013 and I figured that I should sit through it and relearn everything I missed the first time, hoping that I could enjoy the process and have it click for me because I followed some video tutorials and it was excruciating. I’m starting to think that I learn better from books than listening to a lecture.
Process:
The text (Chapter 7) starts off explaining the standard shaders found in Maya, what attributes they have and an example of what kind of objects would best suit that shader. For example:
Lambert: dull or matte surfaces – like a sheet of paper.
Phong: glossy surfaces – plastics, glass, and most metals.
Blinn: super shiny and metallic surfaces.
Anisotropic: surfaces that are deformed – foil wrapper or warped plastic.

Then it goes into using this knowledge towards texturing a table lamp. Nothing fancy. Just basic shaders and fudging a metal look to metallic parts (using a Phong shader and attaching a Env Chrome texture to the Reflected Color attribue). In the end, all the steps the lamp looks like the lamp to the right.
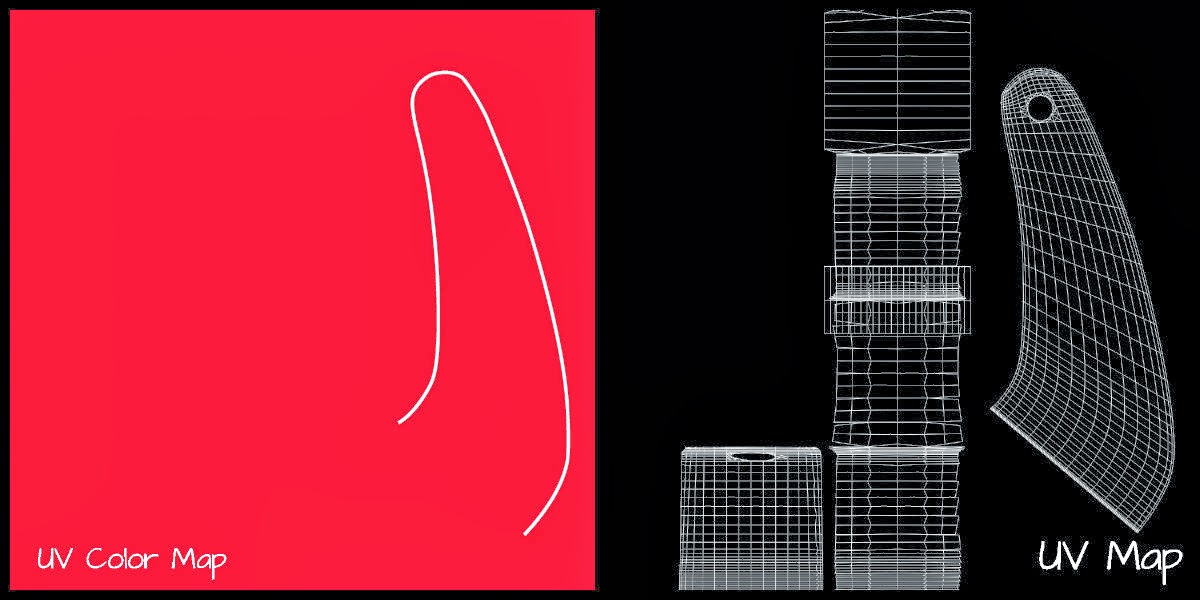
 The next section covers the basics of UV Mapping on a children’s red wagon. First, I set up initial shaders, reflecting their correct colors, and assigning them to the correct parts of the wagon. Next, was to figure out the wheels since they are just one object with two colors and two physical textures to replicate, which was solved using a Ramp shader coupled with a Layered shader and a Bump map connected to the right node to complete the effect.
After that, the text guides you into UVs for the panels where I was able to create my own artwork using Illustrator and Photoshop (which will appear in a little bit), how to flip and duplicate maps, and later how to do this with the logos on the side panels. And finally, how to place and manipulate the wood texture using Maya’s own wood texture.

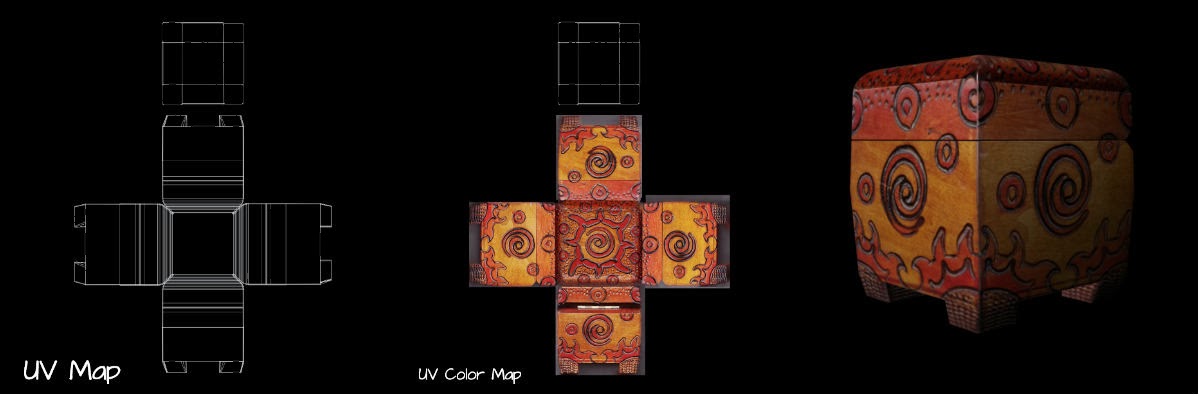
Lastly, the chapter concludes with how to do photorealistic mapping of a decorative box. Basically, it follows the directions of the wagon but uses actual pictures to place on the UV Map. Ultimately, this part of the chapter dealt more with manipulating in Photoshop and UV nodes in Maya. A lot of give and take.
Conclusion:
I didn’t find the process confusing or intimidating anymore, which is good. I plan on expanding on this in other ways, whether it is through more, in-depth tutorials or just jumping in on my own. I think that when I do my own process (not following a tutorial) I will write up the directions of the process because I don’t want to take away the hard work of the author.
